
-

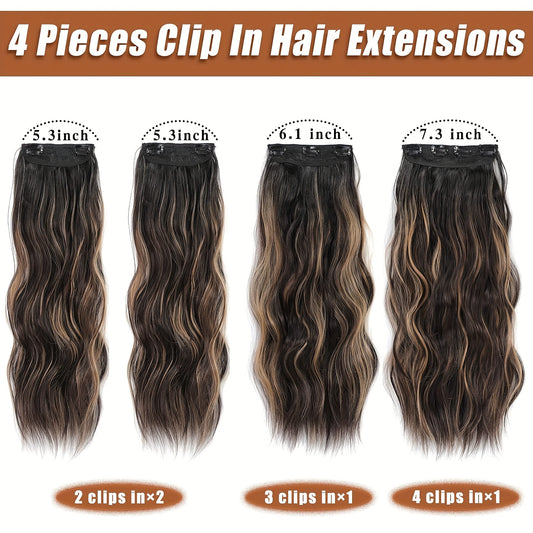
4pcs Clip In Hair Extensions, Long Wavy Synthetic Hair Extension Clip In, 20 Inches Synthetic Soft And Natural Thick Hair Pieces
Regular price $210.36 USDRegular priceUnit price per$0.00 USDSale price $210.36 USD -

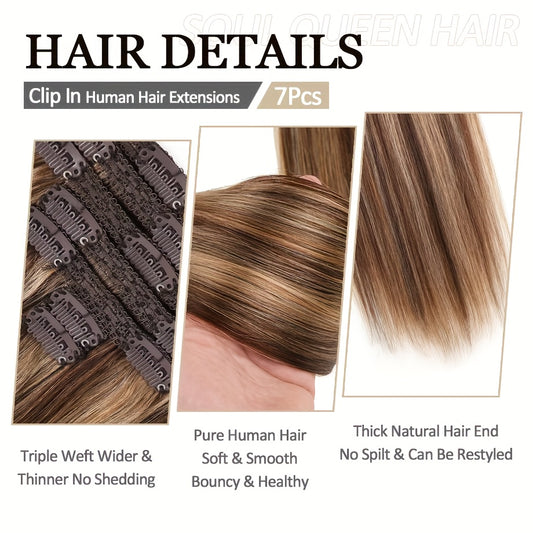
24-Inch Clip-In Hair Extensions, Real Human Hair Double Weft, 100% Remy Design for Women
Regular price $249.00 USDSale price $249.00 USDUnit price per -

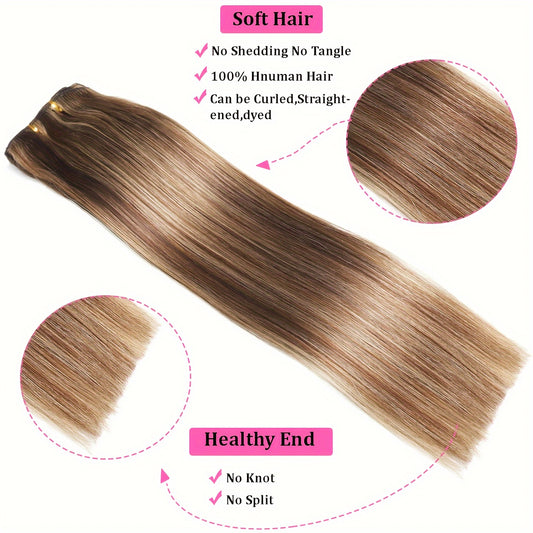
Clip In Hair Extensions Real Human Hair | 18-26 Inch 120 G 8pcs Seamless Clip In Hair Extensions
Regular price $246.36 USDRegular priceUnit price per$46.36 USDSale price $246.36 USD -

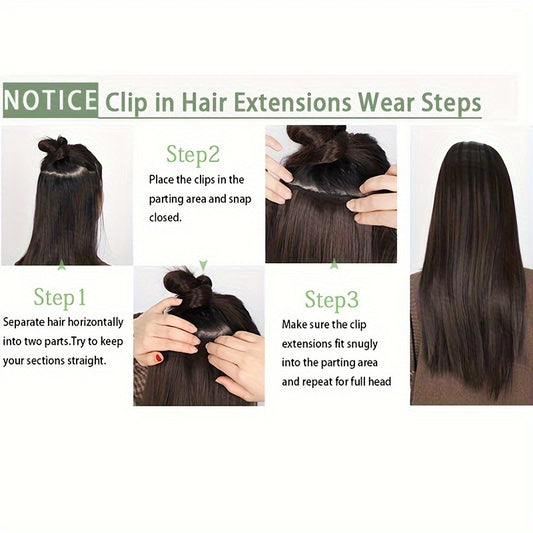
Clip In Hair Extensions Real Human Hair | Remy Human Hair Extensions Clip Ins For Women
Regular price $229.00 USDSale price $229.00 USDUnit price per -

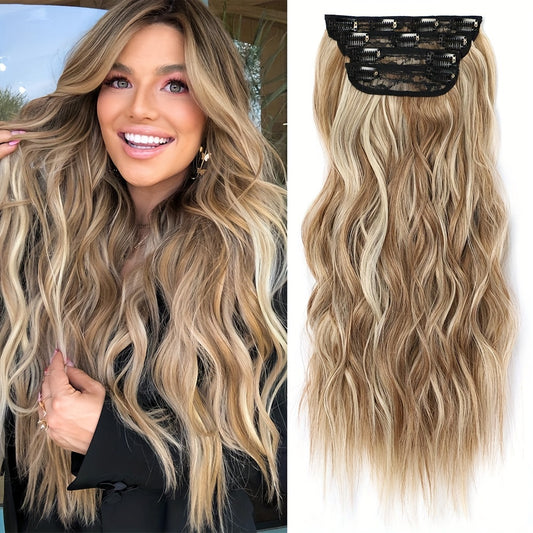
Clip in Long Wavy Synthetic Hair Extension
Regular price $109.62 USDRegular priceUnit price per$9.62 USDSale price $109.62 USD -

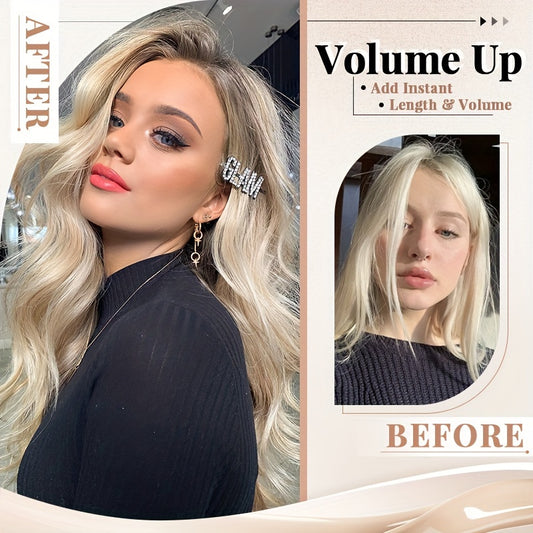
14-20 Inch V-Shaped Real Remy Clip in Human Hair Extensions
Regular price $229.00 USDSale price $229.00 USDUnit price per -

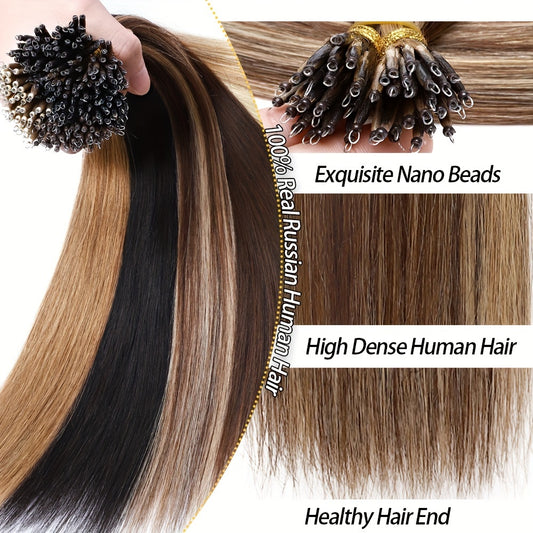
16-24 Inch Nano Ring Hair Extensions Human Hair Highlight Nano Link Hair Extensions
Regular price $249.00 USDSale price $249.00 USDUnit price per -

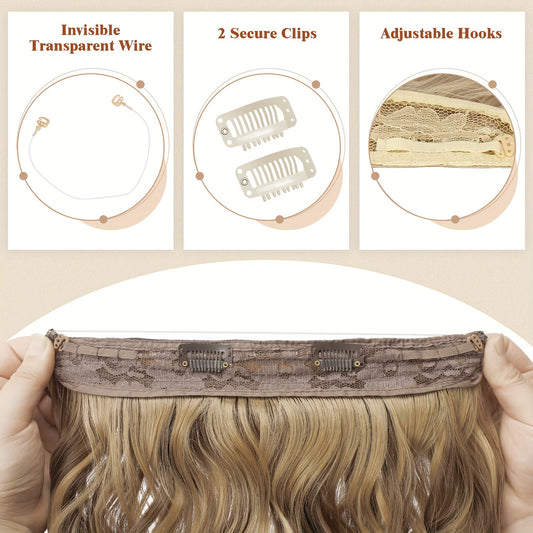
Dark Blonde 18/20 Inch Curly Wave Hair Extensions | Heat-Resistant Synthetic Fiber
Regular price From $110.23 USDRegular priceUnit price per$10.23 USDSale price From $110.23 USD -

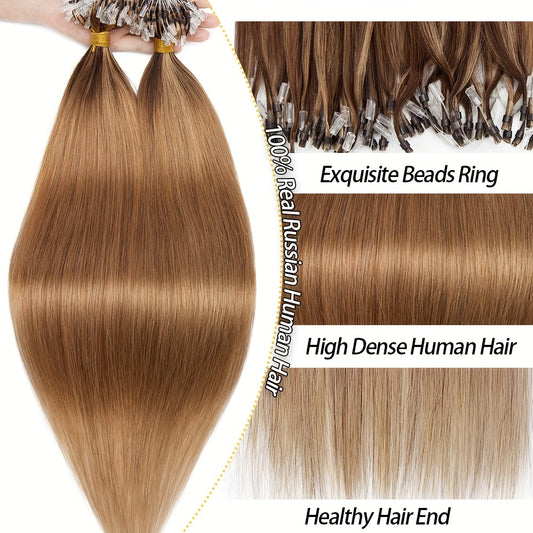
50G/Pack THICK Micro Ring Loop 100% Human Hair Extensions
Regular price $179.00 USDSale price $179.00 USDUnit price per -

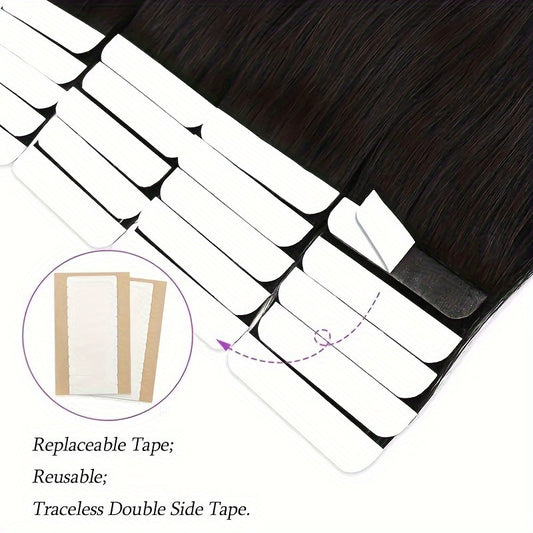
20pcs 100% Remy Hair Tape-In Straight Human Hair Extensions
Regular price $189.00 USDSale price $189.00 USDUnit price per -

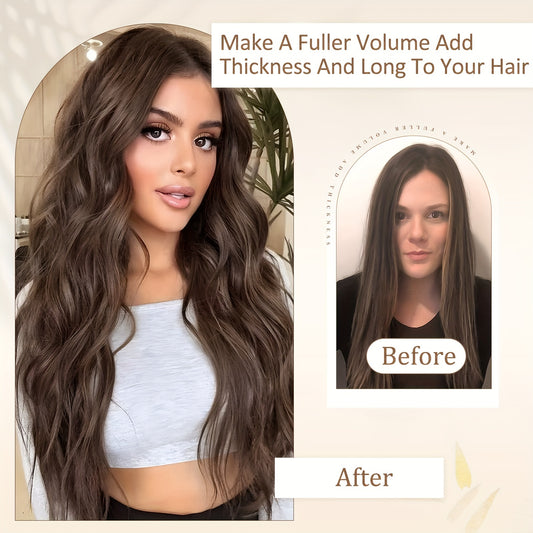
14-24 Inch 100% Remy Human Hair Extension Pre-bonded Micro Nano Rings
Regular price $239.00 USDSale price $239.00 USDUnit price per -

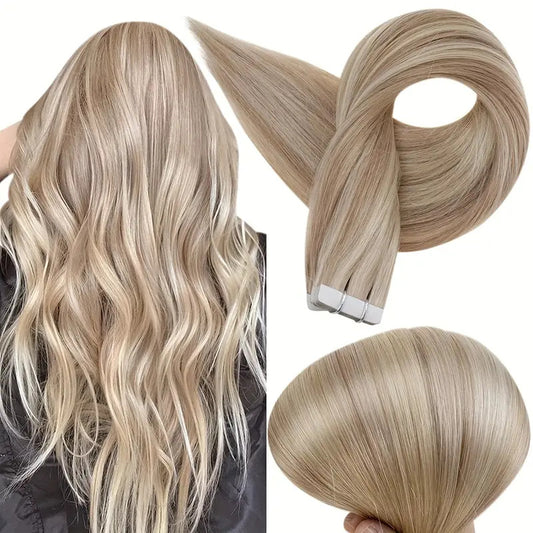
20pcs 50g Brazilian Human Hair Tape In Extensions | Y2K Style for Women
Regular price $199.00 USDSale price $199.00 USDUnit price per


20 Inch Hair Extensions: The Everyday-Length Upgrade That Still Looks Like You
Twenty inches is the rare extension length that feels transformative without feeling impractical. It adds visible length, fuller ends, and styling flexibility while still behaving like “real life hair” on busy days. If you want a long silhouette that works for commuting, dinners, and photos without committing to ultra-long upkeep, this collection is built for that middle ground. Use the guide below to shade-match, choose texture, plan placement, and avoid the most common buying mistakes—then browse the category with a clear goal in mind via the 20-inch hair extensions collection for length and volume goals.
What This Collection Is and Who It’s For
This collection centers on 20 inch hair extensions—pieces designed to give you a longer, fuller finish that typically falls around mid-back to lower-back depending on your height, natural hair length, and where the extensions sit. That placement matters: it’s long enough to change your overall silhouette, yet not so long that it becomes high-friction to detangle, style, or wear in everyday settings.
It’s a smart category for:
- People who want a clear “before and after” length shift without stepping into ultra-long management.
- Fine-to-medium hair types that need fullness at the ends to make styles look intentional.
- Anyone growing out layers, a bob, or a lob and wanting the in-between phase to look polished.
- Event styling (weddings, parties, shoots) that still has to translate to normal life afterward.
For shoppers building a cohesive routine—tools, care, and styling accessories that support longevity—start with Fabulive’s main storefront for coordinated hair essentials so your extensions and maintenance habits work together instead of fighting each other.
How to tell if 20 inches will suit your proportions
Measure from the crown to where you’d like the ends to land on your back. If your goal is movement and length you can still wear down comfortably, 20 inches usually hits the most flattering visual line: long, but still “light” enough to look modern instead of heavy.
Who gets the most natural-looking results at this length
If your natural hair is collarbone-length or longer, 20 inches often blends with minimal effort. If your hair is short, the length can still look seamless, but you’ll rely more on placement strategy and texture harmony to make the transition look intentional.
Why This Category Matters Now
Right now, the dominant hair aesthetic isn’t just “long”—it’s long hair that looks believable up close: soft dimension, touchable movement, and ends that don’t look thin. Twenty inches is popular because it aligns with that expectation. It provides enough length for a luxe silhouette, yet it’s still manageable enough to keep looking healthy over time.
Another reason 20 inches matters is versatility. It supports daily hairstyles—low ponytails, half-up styles, loose waves—while also giving you enough length to create photo-ready finishes. If you’re trying to understand why this length reads so balanced and flattering, use this guide to why 20-inch extensions create glamorous, flowing hair as a reference point for what “good length” looks like in motion.
What makes 20 inches look realistic in daylight
Daylight reveals two things: shade mismatch at the top and texture mismatch through the mids. The most natural results come from matching your root tone first, then choosing a texture that mirrors how your hair behaves on an average day—not your best day.
Why mid-long lengths photograph so well
In photos, hair reads as shape. Twenty inches gives you the length to create a clean line and a full-looking fall, especially when the ends are tapered and styled to move as one unit rather than as separate sections.
How to Choose the Right Option
The best 20-inch choice depends on your goal, your natural hair density, how often you plan to wear the hair, and how much maintenance you’re willing to do between wears. Start with decision logic, then narrow by shade, texture, and construction type.
Decision Framework
- Goal → length, volume, or both
- Shade/undertone → match roots first, then harmonize mids and ends
- Texture/finish → straight, body wave, wavy, curly
- Construction/type → clip-in, bonded, tape-in, etc.
- Weight/coverage → subtle fill vs full-head density
- Occasion/frequency → daily wear vs occasional styling
- Care tolerance → low-maintenance vs styling-friendly
- Budget/value → cost-per-wear and longevity expectations
How to choose 20-inch extensions for thin hair right now
With thin hair, the goal is believable density—not bulk. Choose a weight that fills out the ends without creating a “shelf” where the extensions start. Prioritize a texture close to your natural pattern so you aren’t heat-styling every time just to blend.
How much hair you actually need for a full look
Think in zones rather than pieces. You need strong coverage in the back for a consistent silhouette, lighter fill at the sides for face framing, and enough top coverage to conceal attachment points. Many “obvious” blends are simply under-supported at the back or over-loaded at the sides.
Best choice for daily wear versus special occasions
For daily wear, comfort and quick styling matter most—textures that naturally blend reduce friction and extend lifespan. For events, you can choose more dramatic volume or curl definition because wear time is shorter and styling is more controlled.
What to prioritize if you’re new to extensions
Begin with a construction that lets you practice placement and shade-matching without permanent commitment. Then build up to fuller coverage or longer lengths once you know what looks most “you” in different lighting and hairstyles.
Shade, Undertone, and Finish Selection
Color match is the difference between “beautiful hair” and “beautiful hair that looks like yours.” The most reliable method is to match the color at your roots first, because that’s where attachment points sit and where contrast is most noticeable. Next, choose a mid-length tone that harmonizes with your natural dimension. If your hair has highlights, a slightly blended or multi-tonal option usually looks more natural than a flat single shade.
How to match undertones without overthinking it
Check your hair in indirect natural light. If your lighter strands lean honey, caramel, or gold, you’ll blend best with warm-leaning tones. If they lean beige, ash, or cool brown, avoid overly golden shades that can look brassy next to your natural color.
What to do if the shade is close but not perfect
Small differences disappear when you add texture. Loose waves blend color transitions by breaking up the line visually. If the mismatch is concentrated at the top, choose a style that keeps your natural hair over the attachment area, like a half-up twist or a low pony with face framing.
How finish affects realism
Overly shiny hair can look synthetic in sunlight. A softer, more natural sheen is typically the most believable. If you’re choosing a budget-friendly fiber, opt for finishes that mimic natural light reflection rather than a glossy plastic shine.
Texture and Blend Strategy
Texture is the hidden engine of a seamless blend. Even if your color match is perfect, a texture mismatch will show as separation—your hair moves one way, the extensions move another. Choose a texture that matches the mid-length behavior of your natural hair, then style both together so they read as one silhouette.
How to blend 20 inches with blunt haircuts
Blunt cuts can create a visible line where your natural hair ends. The simplest fix is shaping: add soft bends or waves and keep the ends slightly tapered so the extension length falls like natural growth instead of a uniform curtain.
How to blend with layered haircuts without losing fullness
Layers blend easily, but they can look thin at the ends if the extensions are too light. Support the back section with stronger density, then style with a gentle wave to unify the layers into a fuller-looking finish.
How to blend with short hair so it looks intentional
Short hair can wear 20 inches beautifully when you build a gradual transition. Place extensions lower, keep a thicker top section to cover attachment points, and style with texture so the line disappears. For a helpful mindset shift and practical reasons this works, read why extensions are a game-changer for short hair transformations.
How to blend with medium-length hair for an invisible transition
Medium hair is the easiest canvas. Use face-framing pieces to soften the front, then curl everything together and brush out the curls into a cohesive wave so the difference between your natural ends and the extensions is visually blurred.
What to do if the blend line shows
First, adjust placement: drop the extension slightly lower so your natural hair covers the seam. Second, adjust texture: a quick wave-through typically hides the line better than straight styling. Third, check density balance—sometimes the issue is that the ends are too thick compared to your natural hair, making the transition look abrupt.
How to add volume without making it look obvious
Volume should look like density, not bulk. Build fullness through the mid-lengths and ends, then keep the crown relatively natural. If you want technique-based approaches that still look believable, use these clip-in volume techniques for soft, realistic fullness as a guide to placement and styling.
Styling Ideas
Twenty inches gives you styling freedom without requiring constant effort. The best approach is to create two reliable routines: an everyday look that’s quick and comfortable, and a photo-ready look that holds shape longer. That way, the hair serves your schedule, not the other way around.
Quick looks for weekdays
Try a low ponytail with face framing, a half-up clip twist, or brushed-out waves. These styles naturally conceal attachment points and make the length look like your own hair grew in with extra density.
Photo-ready looks for events
For photos, focus on structure: glam waves, a sleek low bun with wrapped sections, or a high ponytail with a softly curled tail. If you like prom-style inspiration that translates well to 20 inches, reference these prom hairstyles for medium-length hair that scale beautifully with extensions.
Accessory styling that makes blending easier
A bandana, scarf, or headband can visually unify the crown area and add intentional styling—especially on second-day hair. For ideas that look modern rather than overly casual, see bandana hairstyles that pair well with longer lengths.
Celebrity-inspired finishes without looking like a costume
The secret isn’t copying a specific look; it’s borrowing the structure: smoother roots, controlled shine, and consistent texture through the ends. For reference, browse celebrity hairstyles that translate well to a 20-inch finish and adapt the silhouette to your face shape and density.
Care, Maintenance, and Longevity
Longevity comes down to reducing friction and heat damage. Detangle from the ends upward, store hair so it doesn’t knot, and avoid over-washing. Treat extensions like delicate fabric: the less abrasion and repeated heat, the longer the quality stays consistent.
How often to wash 20-inch extensions
Wash only when buildup affects movement or shine. Over-washing is one of the quickest ways to dry hair out. Between washes, focus on gentle brushing, minimal product layering, and protective storage.
How to prevent tangling at the ends
Ends tangle when they’re dry and rubbing against clothing. Brush before and after wear, keep ends conditioned, and avoid tossing hair loosely into bags. If you sleep in your hair, loosely braid it or secure it to reduce friction.
How to manage longer-than-20-inch hair if you size up later
When you go longer, you’ll need a more protective routine: more mindful detangling, more careful storage, and more consistent conditioning. For realistic expectations and practical management, use this guide to managing ultra-long extensions without constant frustration.
Comparing Nearby Categories
Think of lengths as a wardrobe. You may want one length for everyday wear and another for statement styling. The real question isn’t just “how long,” but “how will it look with my density and my routine.” Shorter lengths can look thicker at the ends; longer lengths can look more dramatic but demand more care.
When 12 inches is the right alternative
If you love sleek, modern hair with a controlled silhouette, shorter lengths can look more editorial and easy to maintain. For style concepts that stay chic and minimal, see short-chic 12-inch clip-in ideas that still look polished.
When 15 inches is a better match for fine hair
Fine hair often looks fuller with slightly shorter lengths because the ends stay dense and bouncy. If you’re weighing realism and fullness, read why 15-inch extensions can be ideal for fine hair density.
Why 16 inches fits everyday wear expectations
If you want a practical length that behaves like your own hair on busy days, 16 inches can be the most effortless option. For a lifestyle-based comparison, see how 16-inch extensions support everyday wear routines.
When 22-inch tape-ins deliver a luxe finish
If you’re already committed to longer hair and want a more continuous look through the mids, tape-ins at 22 inches can read exceptionally luxe when styled smoothly. For inspiration and styling context, explore 22-inch tape-in ideas for a luxe, elongated silhouette.
How 24 inches changes the visual silhouette
Twenty-four inches is where hair becomes a statement. It can look editorial and dramatic, but it also magnifies dryness and tangling if care slips. If you’re curious about how that length reads as “luxurious,” reference this look at 24-inch hair as the secret to long, luxurious impact.
When maximum impact matters more than everyday ease
There are moments where you want hair that’s unmistakably dramatic—shoots, events, or fashion-forward styling. If that’s your goal, use this guide to 24-inch maximum-impact styling to understand the trade-offs before you size up.
Featured Picks and Use-Case Recommendations
“Best” depends on your use case: daily wear, textured blending, full-head volume, or experimenting with color. Use the options below as a starting point and map them back to your decision framework so your choice aligns with your routine.
For soft movement that blends easily with natural hair
If you want a low-effort finish that looks polished quickly, wavy textures are forgiving and photogenic. Consider 20-inch wavy clip-ins for everyday movement and fast styling for a look that reads natural in both indoor and outdoor light.
For versatility across multiple length moods
If you like building different silhouettes—sleek one day, bouncy the next—choose hair that supports styling flexibility. Explore Brazilian Remy human hair for adaptable length and styling variety when you want to change the vibe without changing your whole routine.
For a curly-wave look with a playful, textured finish
Curly-wave textures add dimension and make blending easier when your natural hair has movement. If you’re experimenting with fiber options, try a dark-blonde curly-wave option in heat-resistant synthetic fiber and keep heat low and occasional to preserve texture.
For all-over fullness when your natural hair is medium-to-thick
If your hair has density, you’ll want extensions that keep the ends from looking see-through. Consider a 22-inch full-head clip-in set for consistent volume throughout so the silhouette looks full from crown to ends.
For a deep, sleek finish that reads premium
Deeper shades can look exceptionally natural when the texture and shine level are right. Explore a seamless 1B Remy clip-in option with a smooth, polished fall if you like glossy styling with a realistic finish.
For dimensional balayage color without committing to dye
Balayage tones can soften the blend and add editorial depth—especially if your natural hair has highlights. Try a pale golden honey balayage set for dimensional color experimentation and style in loose waves to melt tones together.
Buying Guidance and Common Mistakes to Avoid
Buying extensions is easiest when you match your real routine, not an idealized version of it. The most convincing results come from alignment: the right density for your hair, the right texture for your lifestyle, and a shade that holds up in daylight.
Mistake: choosing length before density and coverage
If your hair is fine and you choose a very dense set, the look can turn bulky near the attachment area. If your hair is thick and you choose too little hair, the ends look thin. Start with density and coverage, then choose length.
Mistake: relying on heat to force a blend
If you have to restyle heavily every time to match texture, it’s usually the wrong base texture choice. Choose a texture close to your natural pattern and use heat only to refine, not to transform.
Mistake: ignoring haircut shape and end finish
Even perfect shade and texture can look obvious if the ends fall in a blunt line. A soft taper, subtle layering, or a brushed-out wave makes the length read like natural growth instead of a separate add-on.
Mistake: underestimating how much placement matters
Most “I can tell they’re extensions” moments come from placement too close to the hairline or too high on the head. Prioritize concealment: keep attachment points lower and ensure your natural hair covers the topmost seam.
FAQ
Do 20 inch hair extensions look natural on most people?
They can look extremely natural because the length sits in a believable “grown-out” range for many wearers. The biggest drivers of realism are root shade alignment and matching your natural texture through the mids, especially in daylight.
Are 20 inch extensions too long for short hair?
Not necessarily, but short hair needs strategy. Keep placement lower, build a gradual transition, and style with texture so your natural ends blend into the extension length rather than forming a visible line.
What texture is easiest to blend for everyday wear?
Soft wavy or body-wave textures are typically the easiest because they disguise minor color differences and help hair move as one unit. Straight textures can look incredibly real, but they reveal shade mismatches more easily.
How do I avoid the “two layers” look?
That effect usually comes from a blunt natural haircut meeting a longer extension length. Add a soft wave, brush it out, and ensure the ends are shaped so the transition looks tapered rather than stacked.
How many wefts or pieces do I need for a full-head look?
It depends on your natural density and how full you want the ends to look. In general, prioritize strong coverage in the back, then add lighter pieces at the sides for balance, keeping the crown area natural for concealment.
Can I wear 20-inch extensions in ponytails and updos?
Yes—20 inches is especially good for ponytails because it creates a fuller tail and gives you enough length to wrap and shape. For the most natural finish, keep the crown smooth and let face-framing pieces soften the hairline.
How should I store extensions to keep them looking new?
Brush them out before storing, keep them dry, and prevent friction and tangling by storing flat or in a protective pouch. Avoid stuffing them loosely into bags where they knot and rub against other items.
How long do extensions last with good care?
Longevity varies by fiber type, frequency of wear, and heat exposure. Gentle detangling, minimal washing, and protective storage usually extend lifespan significantly, while repeated high heat tends to shorten it.
Is it better to size down or size up if I’m undecided?
If you’re new to extensions or want maximum realism, sizing down is often easier because the ends stay denser and blending is simpler. If you’re styling primarily for events and want drama, sizing up can be worth it—as long as you’re prepared for extra care.
Related Collections
- Explore 20-inch clip-in bonded Remy pieces for a seamless blend
- Compare subtle 10-inch options for short, natural-looking fullness
- Browse 12-inch styles for a chic, controlled silhouette
- See 14-inch picks for understated length with easy blending
- Shop 15-inch choices for balanced mid-length volume
- Explore 16-inch extensions for practical everyday wear
- Compare 18-inch options for soft long hair with less upkeep
- Browse 22-inch extensions when you want a more dramatic length