


Achieving Seamless Integration: Blending Microlink Extensions With Natural Hair
A Professional Education Guide to Micro Ring, Nano Bead, and Strand-By-Strand Extensions
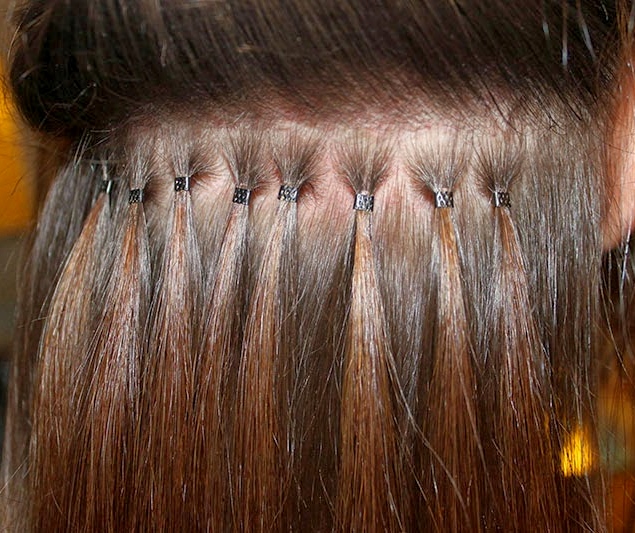
Microlink extensions are one of the few extension methods capable of looking like “your real hair—just more of it.” When installed and blended correctly, they move freely, part naturally, and integrate into daily life without stiffness or bulk. Unlike tape or track-based systems, microlinks are installed strand by strand using small beads that secure extension hair to individual sections of natural hair. This allows exceptional flexibility, but it also means blending mistakes become visible very quickly.
Seamless blending with microlinks is not achieved at the styling stage alone. It is the result of coordinated decisions involving color undertone, texture behavior, density balance, placement mapping, and haircut connection. This article breaks those decisions into practical, repeatable steps so microlinks look natural in motion, under different lighting, and throughout the wear cycle.

What Seamless Blending Means in Real Life
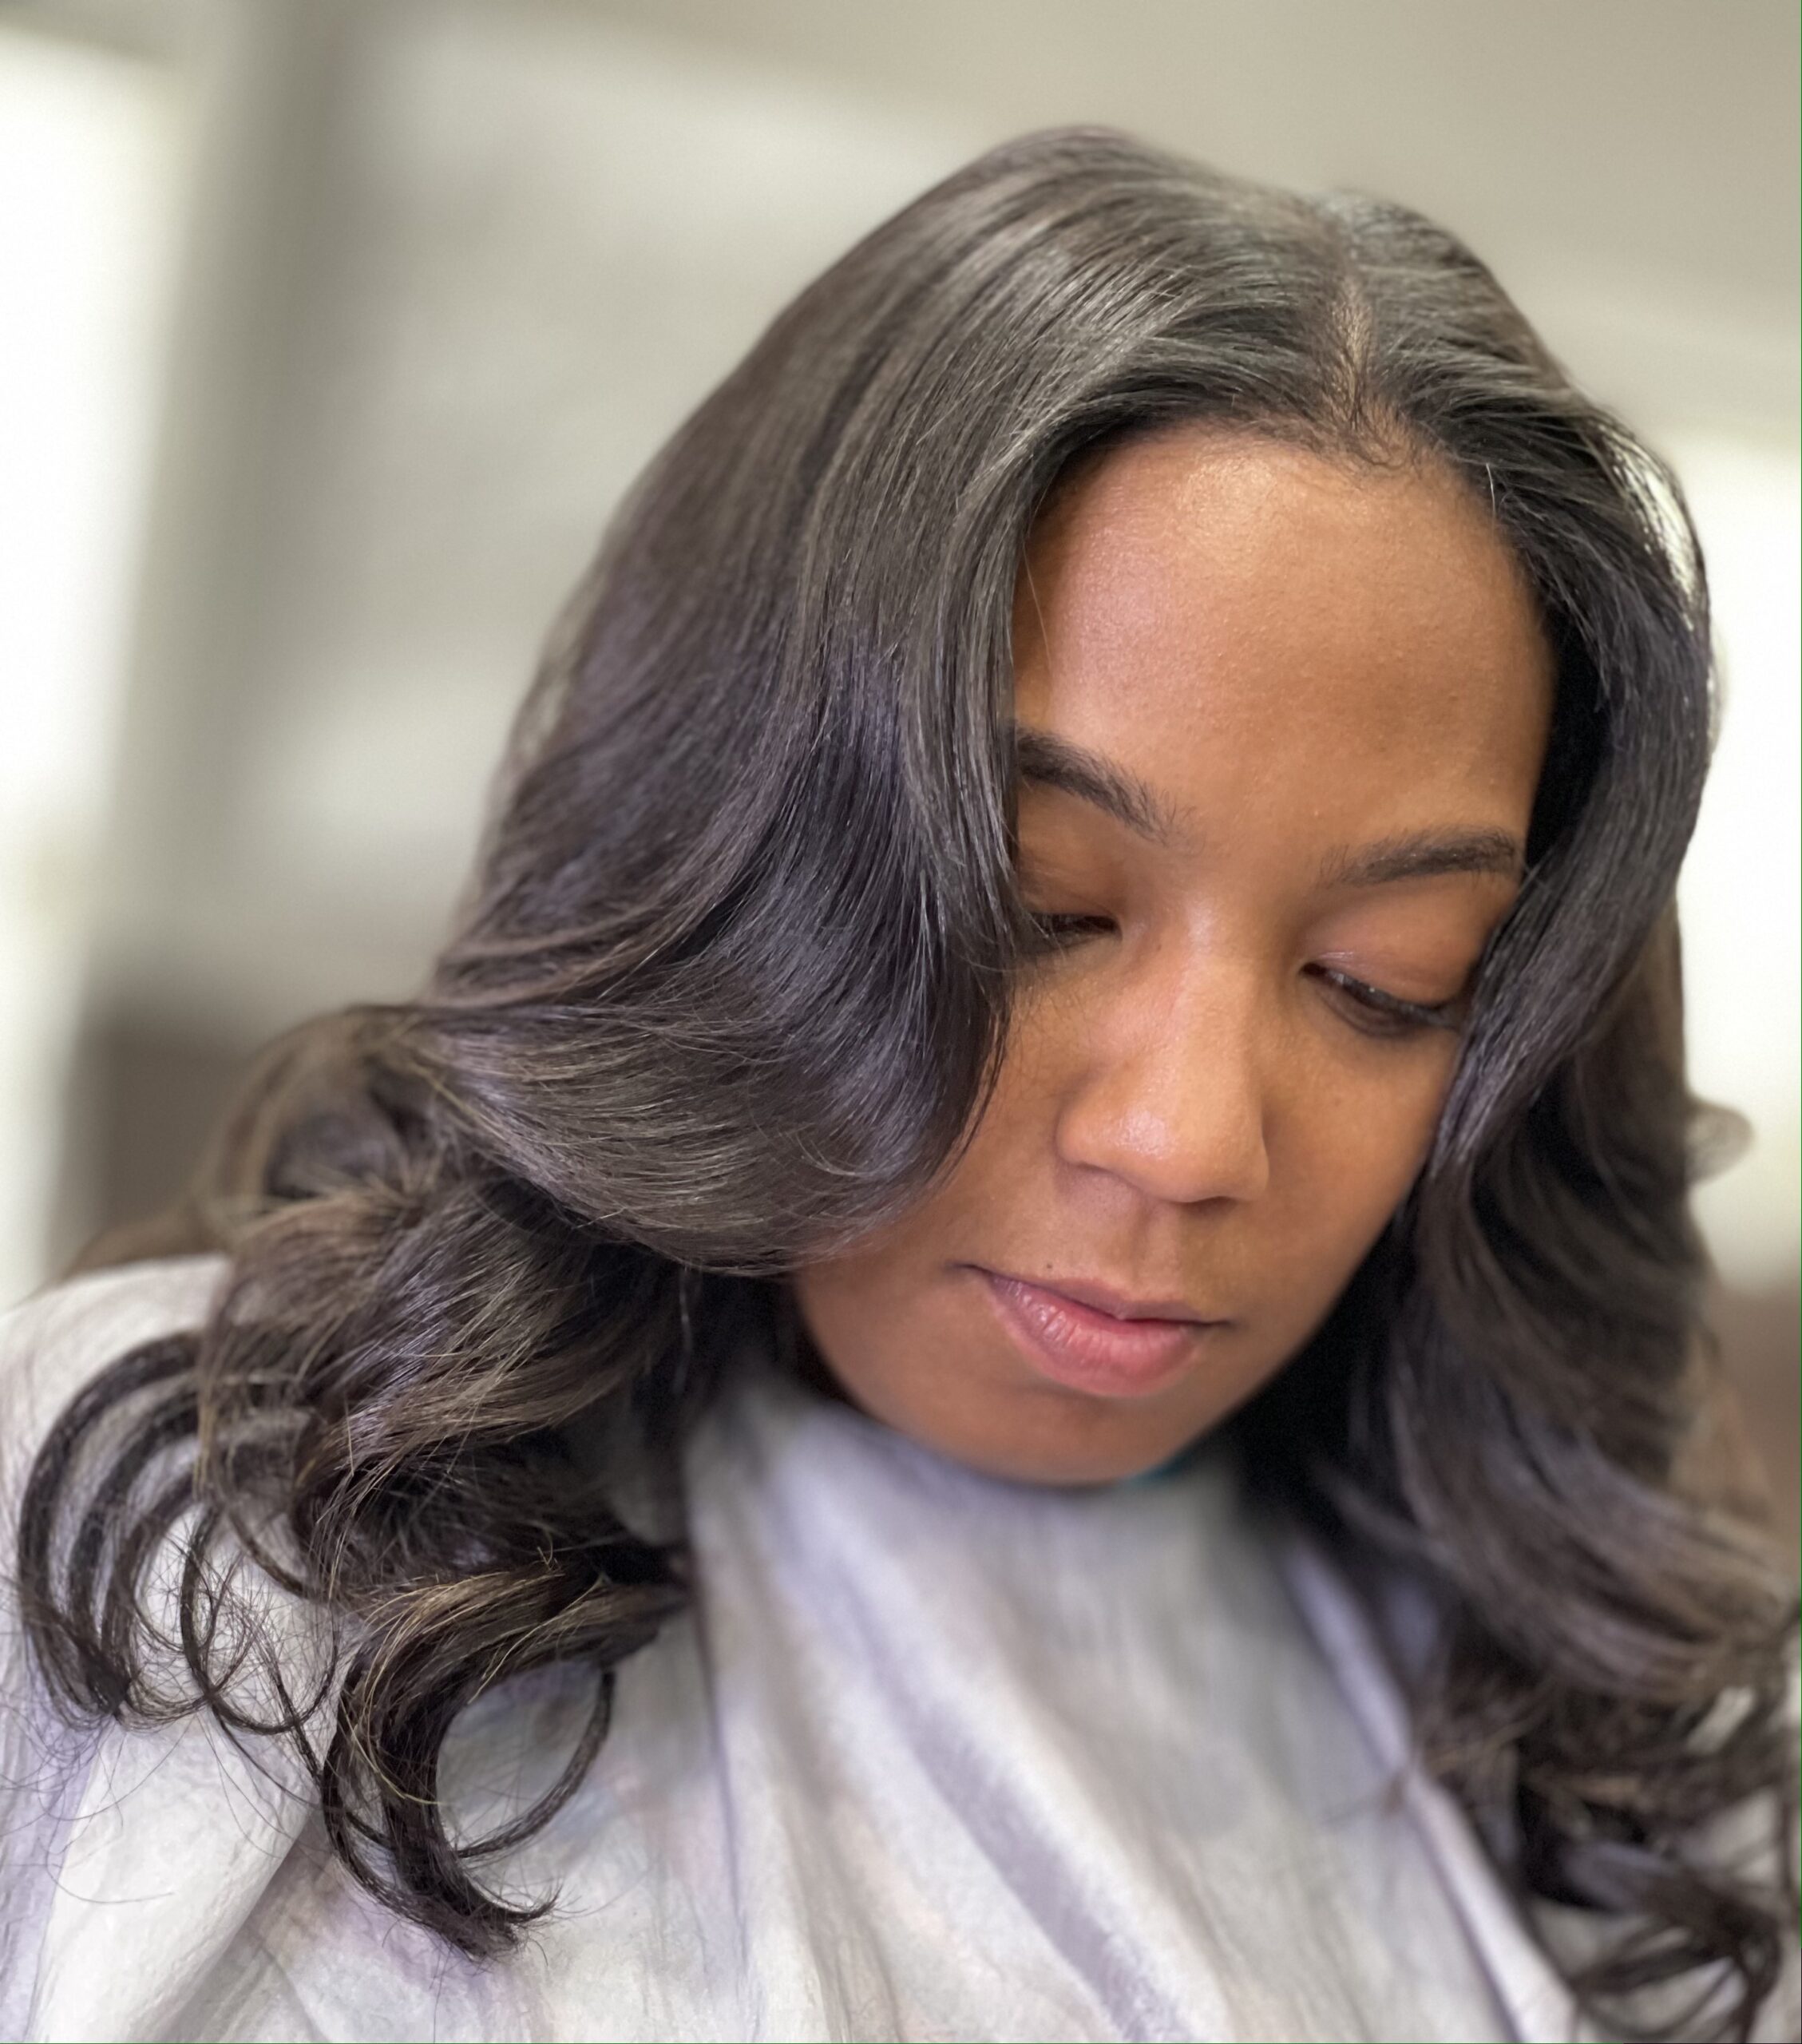
A seamless microlink blend holds up beyond mirrors and photos. It looks continuous when you move, turn your head, or change environments. There is no visible transition line, no abrupt density shift, and no attachment visibility when hair separates naturally. Most importantly, the extensions behave like your own hair—responding similarly to humidity, heat, and movement.
This is why blending must be planned around real habits. If you wear a middle part daily, that part must be protected during installation. If ponytails are common, side and crown placement must be conservative. If you rarely heat style, texture matching becomes more important than any finishing product.
Before committing to microlinks or any strand-by-strand method, education such as how to fit nano tip hair extensions without damaging your hair helps frame attachment size, tension control, and hair weight as long-term considerations rather than trend-driven choices.
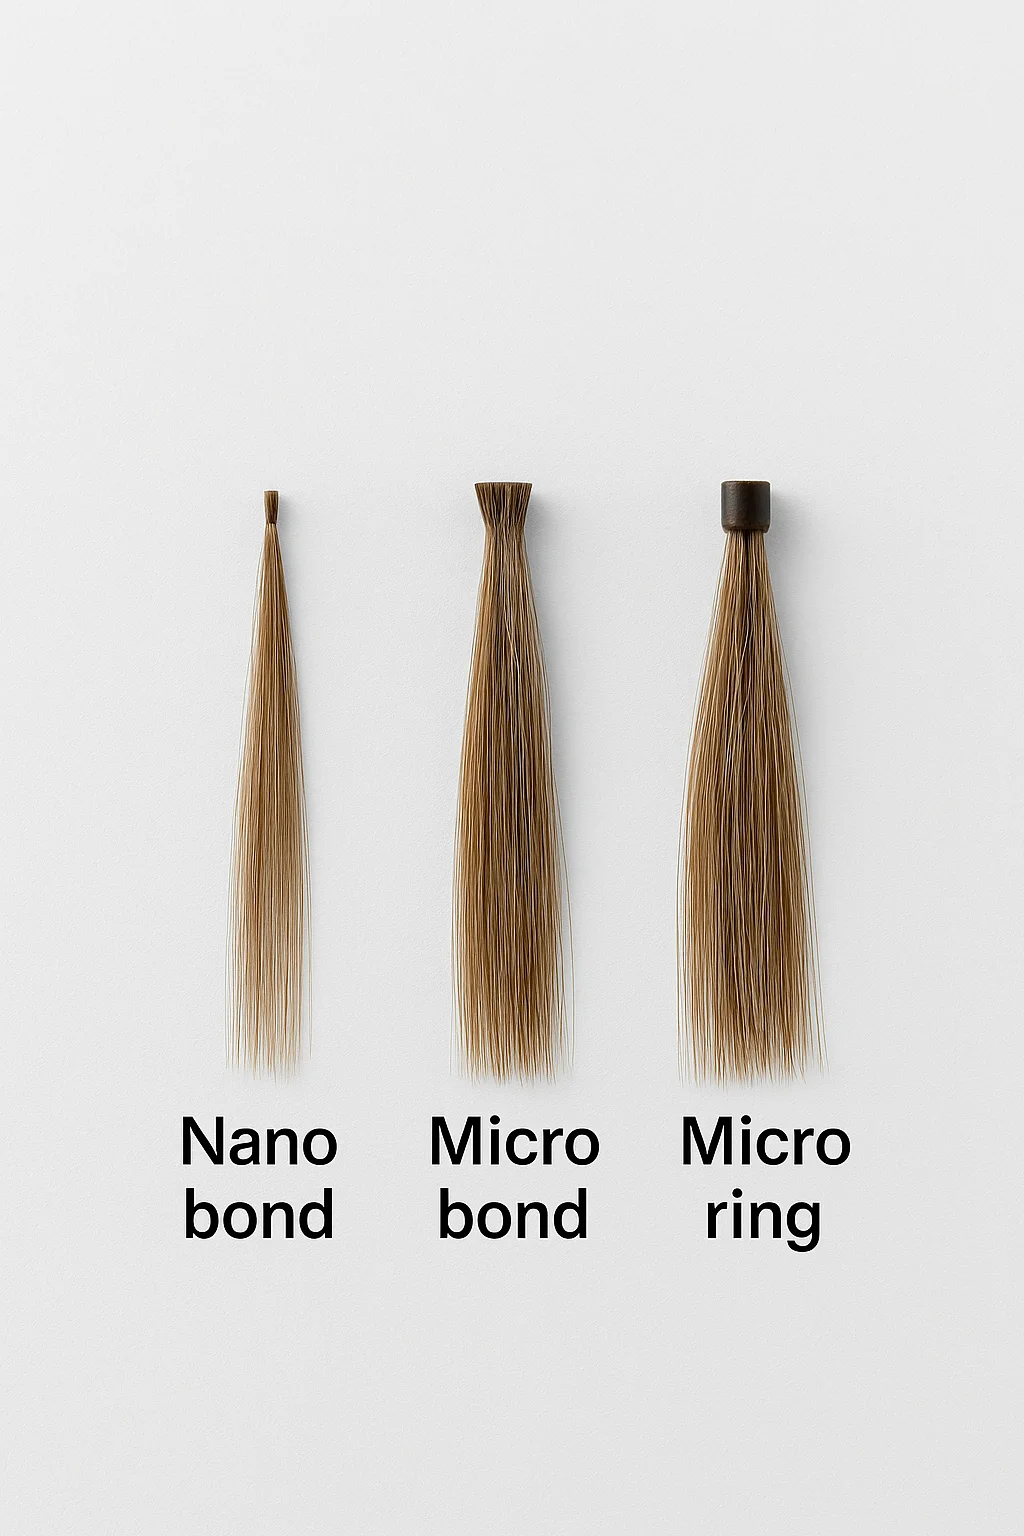
Micro Rings vs Nano Rings: Size, Comfort, and Visibility
One of the most common comparisons is micro ring versus nano ring extensions for fine hair. Nano rings are smaller and often chosen for discretion near the hairline and temples. Micro rings offer slightly more structure and are often better suited to medium-to-thick strands when building density.
The best option is the one that remains hidden in the styles you actually wear while maintaining healthy tension. If you are new to bead-based installs, nano bead hair extensions beginner guide provides a realistic overview of comfort, upkeep, and growth-out expectations.

The Five Pillars of Natural Microlink Blending
Every seamless microlink install relies on five fundamentals: accurate undertone matching, compatible texture behavior, realistic density, strategic placement, and a connection haircut. Ignoring any one of these pillars creates visible separation, even when the hair quality itself is excellent.
Color alone is not enough. Density imbalance and missing haircut transitions are the most common reasons microlinks look obvious, especially in dark shades.
Pre-Installation Planning: Where Most Mistakes Begin
Blending problems usually start before installation day. Choosing dramatic length unsupported by natural density, matching color only under indoor lighting, or skipping a haircut plan creates predictable issues. Before installing microlinks, assess strand thickness, overall density, natural texture pattern, porosity, and daily styling habits.
If you are still comparing strand-based methods, what are I-tip hair extensions and should you try them offers helpful context. Seamless results depend on selecting a method compatible with your lifestyle and hair strength.
Matching Black Microlinks: Undertone Over Shade
Black microlinks expose blending errors quickly. Two blacks may match indoors and diverge in daylight. Undertone matching must always be done in natural light. Warm blacks reflect brown or gold tones, while cool blacks reflect blue or neutral tones. Dyed black hair often benefits from subtle dimension to avoid a flat appearance.
Working within curated options such as black micro ring hair extensions reduces guesswork and improves blend accuracy.


Texture Matching: Why Hair Behavior Matters
Texture mismatch is a primary reason microlinks look separate. Texture behavior includes how hair holds waves, reacts to humidity, and clumps—not just whether it is straight or wavy. Choosing extension hair that mirrors your natural behavior reduces daily styling effort and improves long-term blending.
If you are considering smaller attachments for discretion, nano bead hair extensions pros and cons explained offers a balanced look at invisibility versus maintenance realities.
Density: The Silent Giveaway
Density imbalance is often the most overlooked issue. Thick blunt ends attached to fine natural hair create the classic “extension curtain.” Seamless blending requires matching density at mid-lengths and ends, not just at the root.
Placement Strategy: Blending in Motion
Blending success depends on placement mapping. High-visibility zones include the crown, temples, and hairline. Safer zones include mid-back and lower layers where natural hair naturally conceals attachments. If ponytails or sharp parts are part of your routine, placement must reflect that reality.
Exploring different systems within hair extensions collections can help clarify which methods suit your lifestyle best.

Installation Quality and the Haircut Connection
Even premium hair fails without precise installation. Clean sectioning, balanced distribution, gentle tension, and proper bead alignment are essential. The post-installation haircut is where microlinks disappear. A connection cut dissolves boundaries and allows natural and extension hair to behave as one.
Maintenance and Growth-Out Awareness
Clean scalps support better blending, while heavy products near beads reduce grip. Gentle detangling, strategic conditioning, and timely maintenance visits keep microlinks seamless as natural hair grows.


Frequently Asked Questions About Microlink Blending
What makes microlink extensions look natural?
Correct undertone matching, realistic density, strategic placement, and a professional connection haircut working together.
Why do microlinks look obvious in sunlight?
Daylight reveals undertone differences, density outlines, and shine contrast that indoor lighting hides.
Are microlinks suitable for fine hair?
Yes, when strand size, bead size, and weight distribution are conservative and carefully planned.
How often do microlinks need maintenance?
Most require adjustment every six to eight weeks depending on growth rate and daily routine.
Can microlinks be worn in ponytails?
Yes, when placement is mapped specifically for ponytails from the start.
Do microlinks damage natural hair?
When installed and maintained correctly, microlinks are among the lowest-tension extension methods available.
Is a haircut required after installation?
Yes. A connection cut is essential to eliminate visible transition lines.
What causes tangling near microlink beads?
Natural shedding combined with delayed maintenance or inconsistent brushing.
Final Takeaway
Seamless microlink blending is a system, not a styling trick. When undertone, texture behavior, density calibration, placement strategy, and haircut connection align, microlinks stop looking installed and start looking grown.

