


What Are I-Tip Hair Extensions And Should You Try Them
A Complete Beginner-to-Confidence Guide for Strand-By-Strand Hair Extensions
If you want longer, fuller hair without glue, tape, or heat near your roots, I-tip hair extensions are one of the most practical strand-by-strand options available. They’re often chosen for their lightweight feel, natural movement, and long-wear potential. Instead of being removed and reinstalled every few weeks, I-tips can be maintained and moved up as your hair grows—making them appealing to people who want continuity rather than constant resets.
That said, “gentle” does not mean “effortless.” I-tips look seamless only when bead size, placement, density planning, and aftercare are aligned with your real lifestyle. When those elements are ignored, tangling, visibility, and discomfort follow. This guide gives you the full picture—what I-tip extensions are, how they’re installed, who they suit best, how they compare to similar methods, and how to maintain them so they look and feel like your own hair.

What I-Tip Hair Extensions Really Are
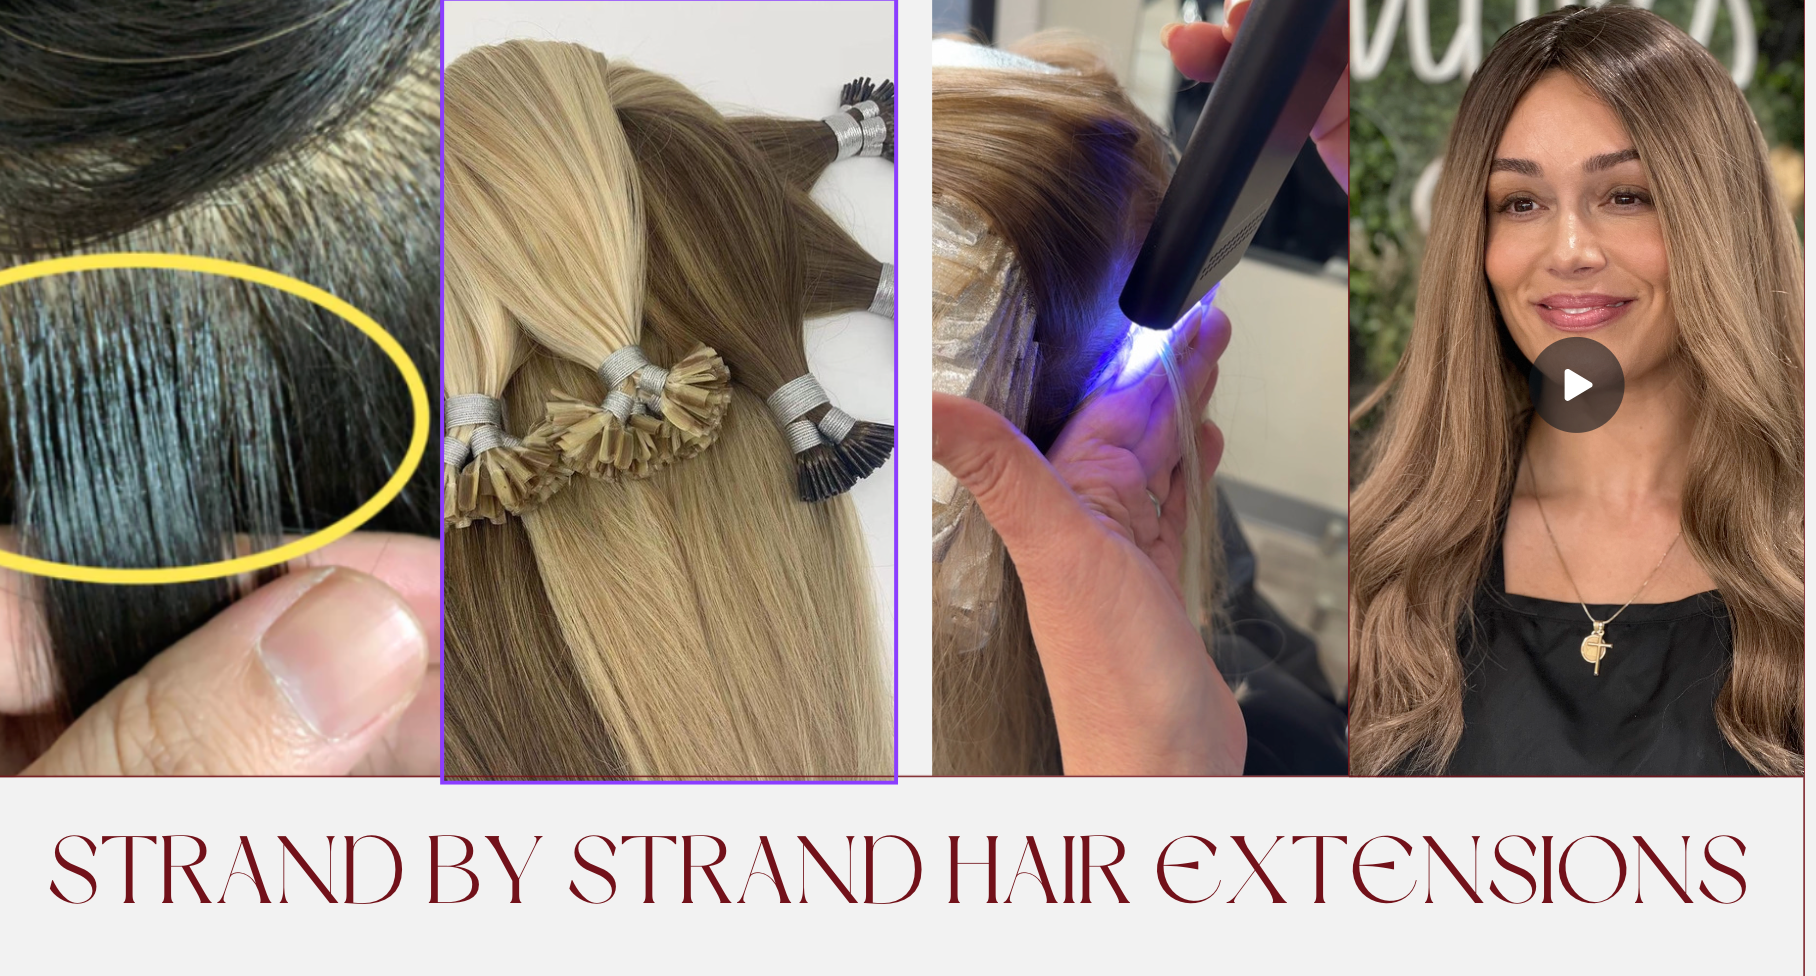
I-tip hair extensions are individual strands of extension hair attached to your natural hair using small beads, commonly referred to as micro rings or nano rings. The “I” refers to the straight tip shape of the strand. During installation, a small section of your natural hair and the extension strand are placed inside a bead, which is then clamped closed using professional pliers—no glue, tape, or heat required.
Because the method is strand-based rather than panel-based, I-tips allow flexible parting and realistic movement. With correct placement and a blending cut, the result can look like your hair simply grew longer and fuller. If you want to explore options by shade, length, or strand count, you can browse i-tip hair extensions to understand what’s available.
I-Tips Compared To Similar Extension Methods
I-Tips vs Nano Tips
“I-tip” describes the strand shape, while “nano tip” often refers to systems designed for ultra-small beads. I-tips can be installed using nano rings depending on your hair type and blending plan. If your priority is minimizing avoidable damage through correct technique, bead distance, and tension control, how to fit nano tip hair extensions without damaging your hair is essential background reading.
I-Tips vs Nano Beads
Nano bead extensions focus on bead size rather than strand type. I-tips can be installed with nano beads, but naming depends on whether the emphasis is on the hair strand or the bead. For a grounded beginner overview of comfort, growth-out, and maintenance, nano bead hair extensions beginner guide provides clarity.
I-Tips vs Microlinks
Microlinks are also strand-by-strand and bead-secured, but education around them often emphasizes blending strategy and placement mapping. If your goal is invisible integration rather than simply adding hair, achieving seamless integration blending microlink extensions with natural hair applies directly to I-tips as well.
I-Tips vs Tape-Ins
Tape-ins rely on adhesive panels, which can limit parting flexibility and require stricter product control. I-tips avoid adhesives entirely and allow more customized placement—especially helpful if your hair doesn’t conceal panels easily.


How I-Tip Hair Extensions Are Installed
A clean I-tip installation is precision work.
Mapping and Sectioning
Hair is sectioned into neat rows, usually starting at the nape. Proper mapping distributes weight evenly and protects fragile areas.
Choosing the Correct Section Size
Each extension strand must match the thickness of the natural hair section. Too thick causes tension; too thin concentrates weight and increases breakage risk.
Inserting and Clamping
A bead is positioned on your natural hair, the I-tip strand is inserted, and the bead is clamped shut. The goal is secure—not crushed. A small movement gap helps prevent scalp soreness.
Micro Rings vs Nano Rings For I-Tips
Nano rings are smaller and more discreet, often preferred for fine hair or sleek styling. Micro rings are slightly larger and can feel more stable on medium-to-thick hair. The right choice depends on hair strength, density goals, and how often you wear high-tension styles like ponytails.
Who I-Tip Hair Extensions Are Best For
I-tips are well suited for people who want semi-permanent hair with natural movement and are willing to maintain it.
They work best for those who:
-
Want no glue or tape near the scalp
-
Prefer reusable hair with move-ups
-
Enjoy flexible styling
-
Have fine-to-medium hair that can support strand tension
They may not be ideal if you:
-
Have extremely fragile hair
-
Wear tight slicked styles daily
-
Can’t commit to regular brushing and maintenance
For a realistic expectations check, nano bead hair extensions pros and cons explained is a helpful reference.


Choosing The Right Hair For I-Tips
Texture Behavior Matching
The most common blending issue beginners face is texture mismatch. Match how hair holds waves, reacts to humidity, and settles after brushing to reduce daily heat styling.
Density That Looks Believable
If your natural ends are fine and your extensions are thick, the blend looks obvious. Either choose realistic density or plan a post-install cut to soften the transition.
Color Matching In Daylight
Undertone matters more than shade. Warm vs cool tones reveal themselves fastest in sunlight.

Placement Strategy: Keeping Beads Hidden In Daily Life
High-exposure zones include temples, hairline, and crown. Safer zones include the lower interior layers and mid-back of the head where natural hair veils attachments. Building density in safer zones first creates a more forgiving blend.
To compare systems and placement-friendly options, browsing hair extensions collections can be useful.
Maintenance And Aftercare That Protect Natural Hair
-
Brush morning and night, starting at the ends
-
Shampoo the scalp gently
-
Condition away from bead areas
-
Dry the bead zone thoroughly
-
Sleep in loose styles on silk or satin


Frequently Asked Questions About I-Tip Hair Extensions
What are I-tip hair extensions best known for?
They’re known for natural movement, flexible parting, and long-wear without glue or heat.
Do I-tip extensions damage natural hair?
When installed and maintained correctly, they are considered low-tension and hair-friendly.
How long do I-tip extensions last?
The hair itself can last many months; move-ups are usually needed every 6–8 weeks.
Are I-tips suitable for fine hair?
Yes, when strand size, bead size, and placement are conservative and planned.
Can you wear ponytails with I-tips?
Yes, if placement is mapped for ponytails from the start.
Why do I-tips tangle near the root?
Natural shedding combined with inconsistent brushing or delayed maintenance.
Is a haircut necessary after installation?
Yes. A blending cut is essential to eliminate visible transition lines.
Are I-tips better than tape-ins?
They’re better for people who want no adhesive and more flexible placement, but they require consistent maintenance.
Final Takeaway
I-tip hair extensions are not a shortcut—they’re a system. When hair selection, density planning, placement strategy, blending cuts, and maintenance routines align, I-tips stop looking installed and start looking grown. For people willing to care for them properly, they offer one of the most natural and customizable long-wear extension experiences available.

